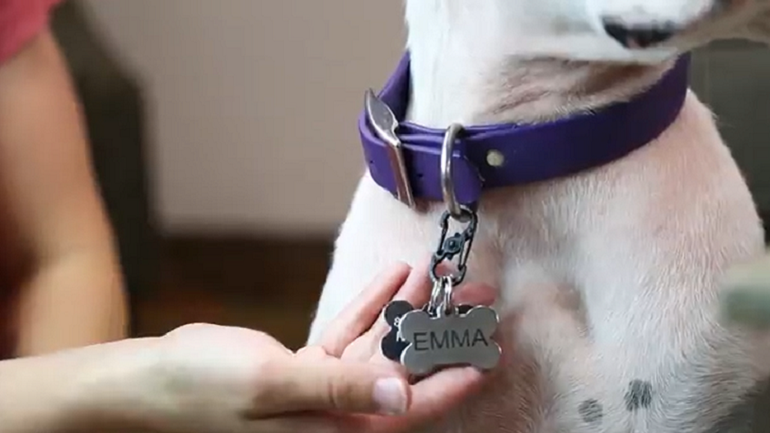
Dog tags are more than just a stylish accessory for your furry friend; they are a crucial element in ensuring their safety and quick identification. Whether you’ve just welcomed a new puppy into your home or need to replace worn-out tags, knowing the proper way to attach dog tags to a collar is essential. In this comprehensive guide, we’ll walk you through the steps to securely affix dog tags, ensuring they remain attached no matter how adventurous your canine companion might be. From choosing the right tags to mastering the attachment process, we’ve got you covered.
The reason I bring my phone with me when I walk my dogs is 100% because I want to be able to help a lost dog if I find one (this happens to me multiple timers per year!).
When we adopted our dog Rudy, I picked out a new collar for him and had dog tags made and attached for when we picked him up from the shelter. He’s never without his ID tag.
I strongly believe that dog owners should be vigilant about keeping a dog collar with updated dog tags on their pups. I’ve found lost doggos before who either didn’t have a collar at all or the phone number on their ID tag was not up to date.
So! Let me walk you through why this is important and how to properly put an ID tag on your dog’s collar.
Why Should You Put a Dog Tag on a Collar?
There are a few reasons why you should attach dog tags to your pet’s collar and make sure that they wear them at all times.
First, if your dog happens to get lost, ID tags will allow whoever finds your sweet fur baby to contact you and get them back to you ASAP.
Even if your dog is microchipped, they should still wear a dog tag. Without it, If your dog gets lost, you will have to depend on whoever finds them to take them to a vet or shelter that can scan their microchip to get your info.
This is not great because:
- You could forget to update your microchip info with a new address or phone number.
- If your pup goes missing on the weekend, you might have to wait until business hours on Monday for someone to take them to get the microchip scanned.
The second main reason why you should put identification tags on your dog’s collar is that it may break the law not to.
Depending on where you live, it may be necessary to have a dog license (either through your county or city) and a rabies vaccine.
Many places require you to put these identification tags on your dog. Yes, you have to do this even if your dog is microchipped.
Gather Your Supplies
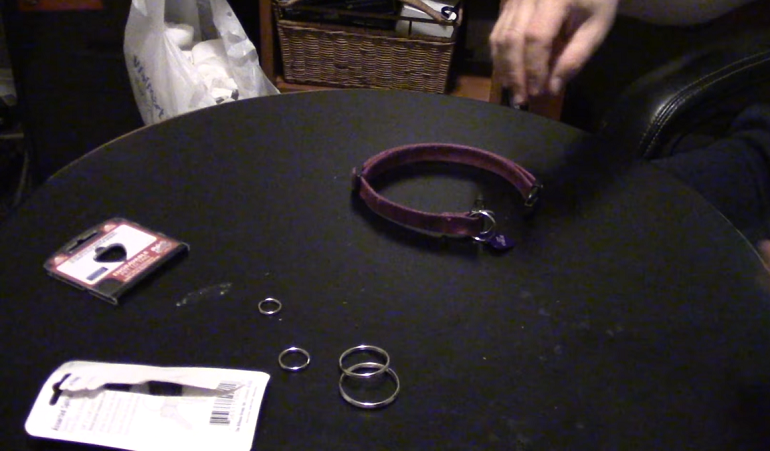
To put a dog tag on your dog’s collar, you just need a few things:
- Your dog’s regular collar (not a choke chain, prong collar, or another kind of dog training collar)
- Your dog’s ID tag (plus any other tags like a rabies tag or registration tag)
- A split ring or S-hook (this may have come with the dog tag, but maybe not)
At the minimum, a dog tag should have your dog’s name and your current phone number. If there is enough space, you can add your address, a second phone number, or a registration number.
Anytime you move, be sure to get an updated dog tag!
How to Put a Dog Tag on a Collar?
Please follow these steps to learn to put a dog tag on a collar:
Step 1: Take Your Dog’s Collar off and Examine It
This whole process is a lot easier if the collar isn’t on your pet, so take it off to get started.
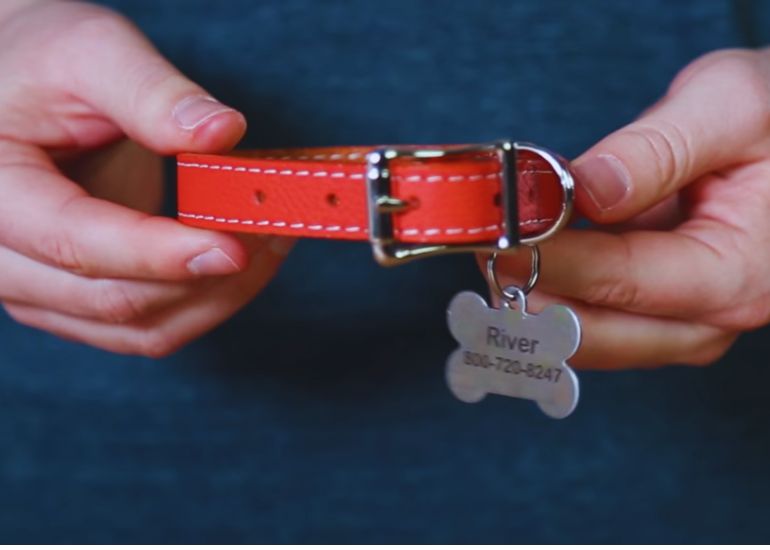
Take a look at their collar to see where you will attach the tags.
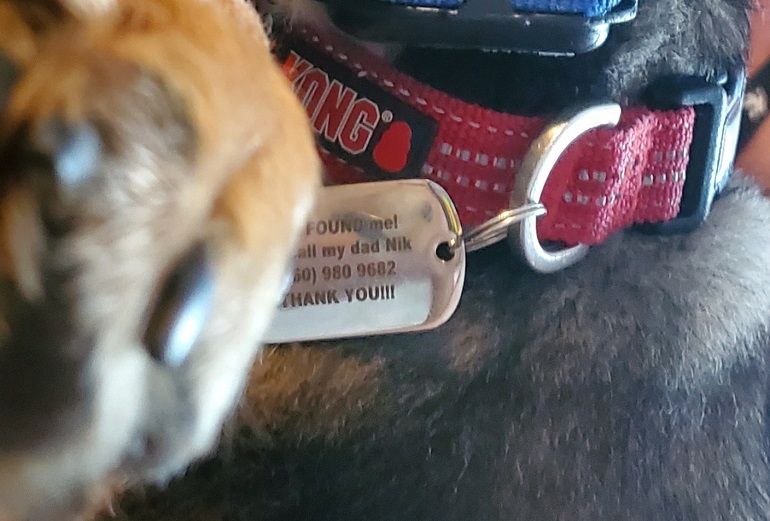
The most common place is the D-ring — the ring where you also attach a leash to go for walks. Some dog collars also have a small metal ring just for attaching a tag.
Step 2: Attach Tags to the Split Ring or S-hook
Before you attach the ring to the collar, put the tag on the hardware.
Using a Split Ring
A split ring is the same as a key ring, but much smaller when used for dog tags.
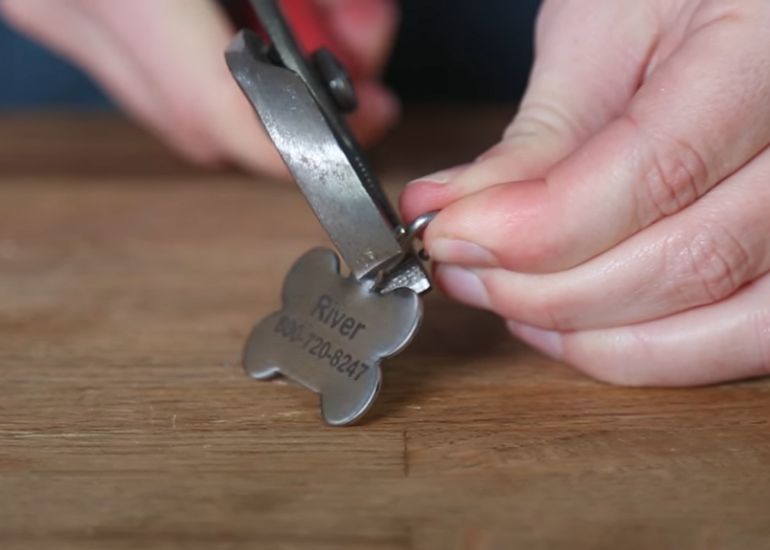
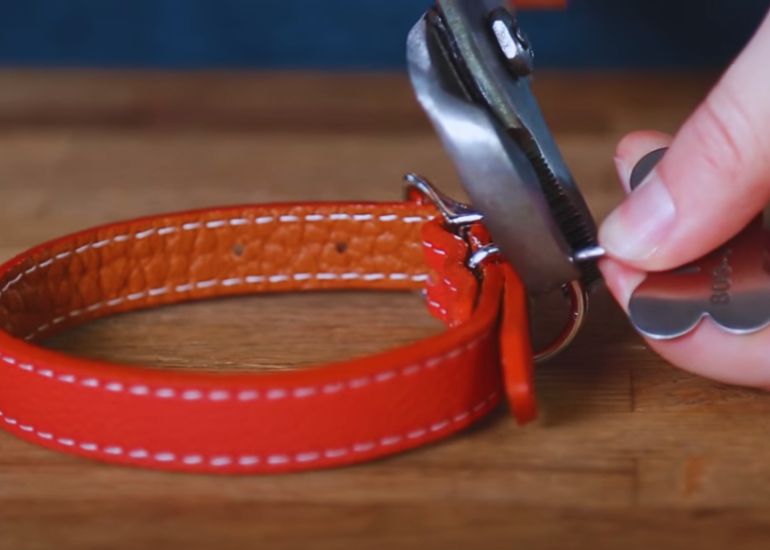
You’ll need to pry open the end of the split ring with your fingernail and slide your tag onto it. Then move the tag around the “corkscrew” of the split ring until it is in the middle and moving freely.
Prying open the split ring can be hard if you have super short nails. It can also chip your nail polish.
If the split ring you are using is extremely small or tight, it can help to have someone lend you a hand. One person can pry open the ring, and the other can squeeze the pet tag on.
Using an S-Hook
An S-hook is a little easier to use, but if you’re not careful, you could lose the tag.
To use an S-hook, slip the ID tag onto one side. If you have multiple tags, get them all on the hook before moving on.
Then use two fingers to pinch the hook so that it is closed tight and the tag can’t come off.
Step 3: Attach the Ring or Hook to the Collar
Using the same process as before, attach the hardware to the D-ring or tag ring on the collar.
With the S-hook, you will use the other side of the S and pinch it closed onto the collar. This turns the hook from an S shape into more of a figure-8.
Alternative Option:
If you regularly change the collar your dog is wearing (like switching back and forth between a GPS dog tracker and a reflective dog collar) and don’t want to have to go through this process to transfer their tags every time, you can get an ID tag pet clip.
This is basically a small carabiner that you can easily unclip and attach to another collar in seconds.
This is also a helpful option if you don’t have the finger strength to get collar tags onto the more common hardware.
Step 4: Clip the Collar Back on Your Dog’s Neck
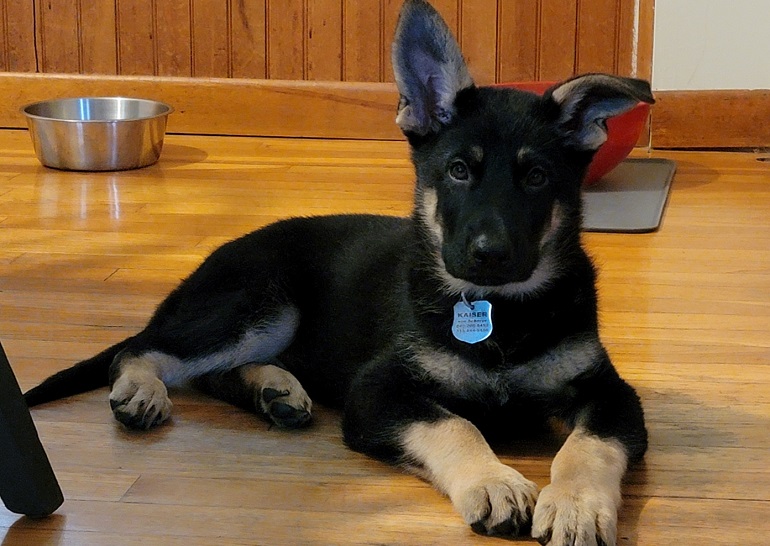
You did it! Put the collar back on your dog’s neck and let them show off their new tags.
If you’re putting a collar on your puppy, it may take them a while to adjust to the noise and weight. Make sure the puppy collar is not too tight, and adjust the collar so that you can slip a few fingers in between their neck and the collar.
Benefits and Drawbacks of Using Dog Tags on Collar
Putting a tag on a collar is definitely the old-school method for dog identification. But it’s a classic for a reason!
It is inexpensive and, for the most part, very reliable.
There are a few downsides, though.
Drawbacks of Attaching a Dog Tag to a Collar
- If the tag ring breaks on the collar, you could lose your tags. Some collars use plastic for the D-rings, which could snap if your dog pulls hard on the leash. Pay attention to the material. Some of the best dog collars use metal for all of their hardware.
- The noise of a jingling dog tag might drive you bonkers — even more likely with multiple tags. An alternative is a silent dog tag made of silicone or getting your info embroidered directly onto the collar.
- On occasion, my dogs will get a toenail stuck in the tag ring on their collar while scratching, and I have to help them. It’s a little scary but has never caused a real injury.
Final Thoughts
It’s pretty simple to get a tag attached to your dog’s collar.
Tags can come in a variety of shapes with different colors and fonts, which can make shopping for one quite fun!
With your phone number (and maybe address) engraved on the tag, you can worry a tiny bit less about being able to reunite with your pet if they were to get lost.
I hope this article has motivated you to get a collar tag with your contact info put on your dog ASAP!
In conclusion, attaching dog tags to your pet’s collar is a simple yet essential task for ensuring their safety and identification. By following the steps outlined in this guide, you can easily secure the tags using split rings or S-hooks, making sure they are visible and durable. Regularly check the condition of both the tags and the collar to maintain legibility and security. Properly labeled dog tags can provide peace of mind, enhancing your pet’s safety by ensuring they can be easily identified and returned to you if they ever get lost.

