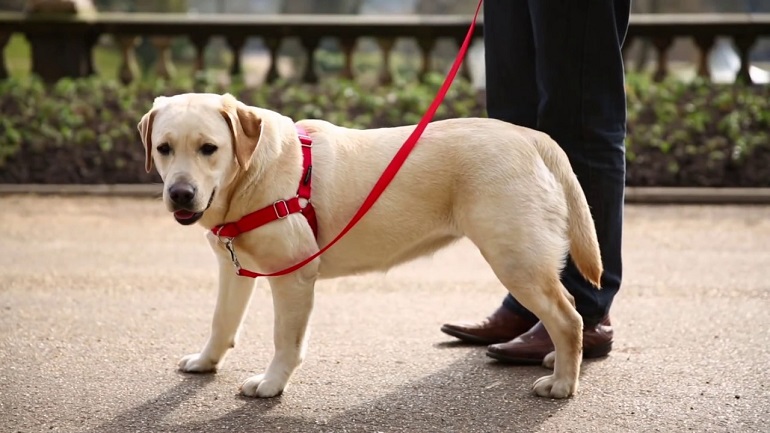
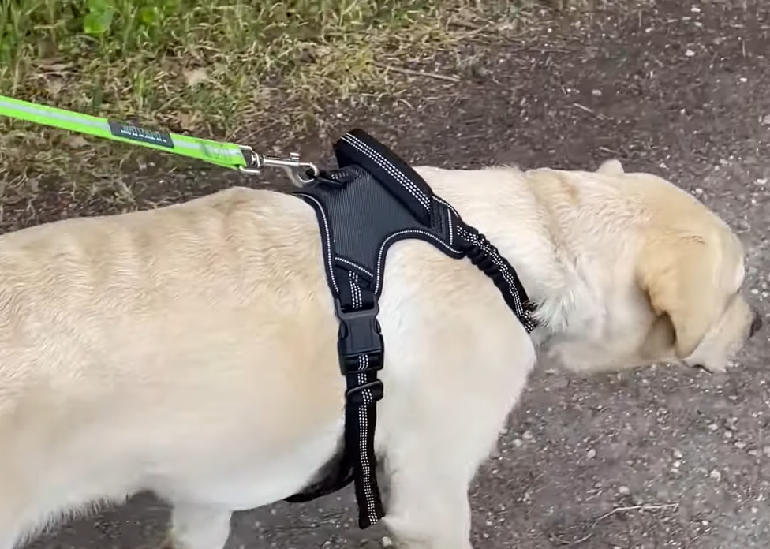
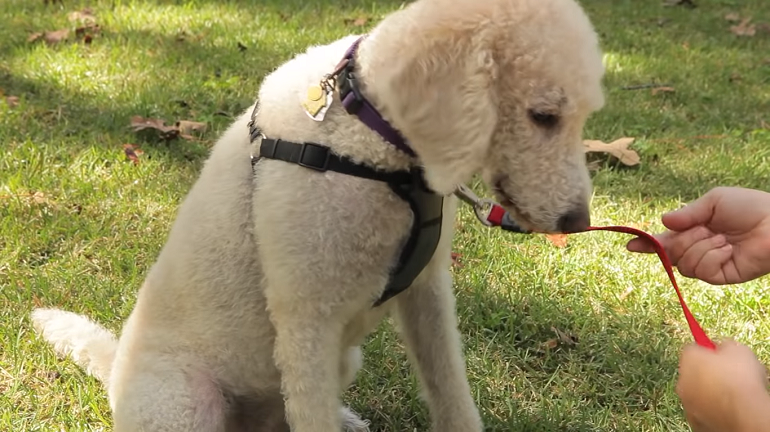
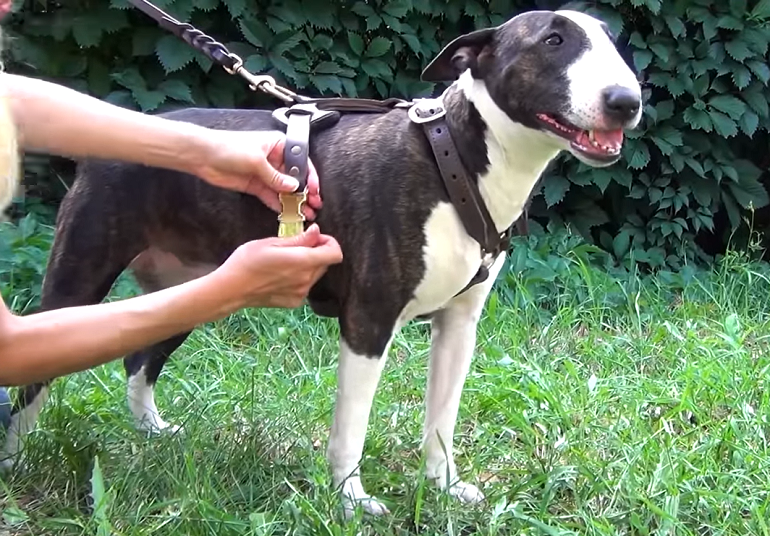
Ensuring your furry friend is comfortable and secure during walks is essential, and choosing the right dog harness can make a world of difference. “How to Put On a Dog Harness? All You Need to Know” demystifies the process, making it easy and stress-free for both you and your pet. Whether you’re a new pet owner or just upgrading your dog’s gear, this guide provides step-by-step instructions and expert tips tailored to your dog’s needs. Delve into practical advice that covers everything from adjusting straps to selecting the right harness style, ensuring every walk is a joyful experience.
The things we do for our dogs… We do all we can to make them comfortable from beds to Christmas jumpers – but a dog’s harness is the simplest way to make your dog comfy on their walks.
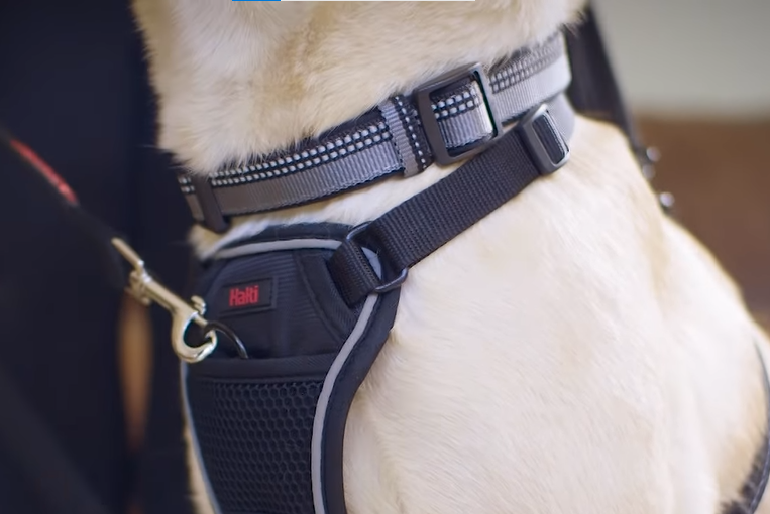
Even if you’ve got the best dog collar, many dog owners prefer walking with a harness. Just like a reflective collar, prong dog collar, or martingale dog collar, a harness has a specific purpose.
Besides keeping your dog more secure and reducing the risk they’ll slip out, a harness protects their neck and makes their walk more comfortable.
You’ll usually find two main types of dog harness: a standard dog harness that slips over the head or a step-in one. Although they have their own ways of putting them on, all dog harnesses are similar, whether it’s a harness for a small dog or a harness for a large dog.
While knowing how to put on your dog’s harness may seem ridiculously obvious to an experienced owner, to newbies you’d be surprised how complex it can be at first.
Putting on a Dog Harness
The actual mechanics of putting on a harness differs between an over-the-head harness and a step-in harness.
However, you can use the same steps before and after actually strapping the harness on your dog. Before you know it, you’ll be an expert in knowing how to put on a dog harness.
1. Let Your Dog Get Used to It
If your dog hasn’t used a harness before, obviously they’ll be curious and perhaps a little nervous about this strange thing you’re trying to strap over them.
So, show them the harness, letting them sniff and inspect it as much as they need. You can hold it up to them, then place it on the floor and let them investigate. Give them time to become familiar with it to alleviate any anxiety about putting it on for the first time.
Even if your dog has worn a harness before, it’s worth showing any new one to them first, so they understand and know what’s happening.
2. Calm Your Dog
Strapping a harness onto an excitable dog who won’t stop wiggling or jumping about is almost impossible.
So, calm them down first. Give them a sit command if you can, or if you need to, just wait patiently. Don’t do or say anything that might excite them further.
3. Put On the Harness
When your dog is calm and ready to put the harness on, start the process of strapping it onto them. Make sure to follow the steps below if it’s an overhead or step-in harness before moving on to the subsequent steps.
A. Overhead harness
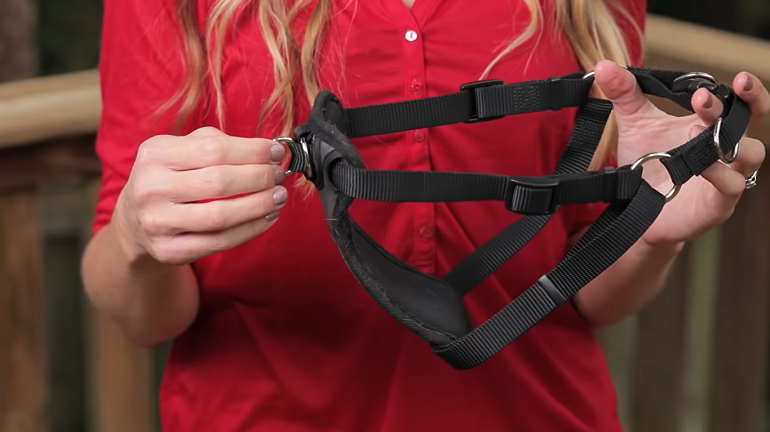
Overhead harnesses are perhaps the most commonly found, with one loop around the ribs and another smaller one around the neck.
I. Put it Over the Dog’s Head
To begin, take the smaller neck hole and slip it on over your dog’s head. The neck hole will be the smaller of the two holes with side straps attached.
Check that the harness is the right way round, with the interior facing your dog’s skin and the exterior facing the outside.
Slide it down far enough so that the neck straps are positioned closer to your dog’s shoulders, not so it’s around the dog’s neck.
II. Put the First Leg Through
With the harness around your dog’s body, take its left leg and place it through the first leg hole. Let its paw rest on the floor and move on to the final step.
III. Buckle the Strap on the Back
Take the remaining strap from underneath and loop it around your dog’s remaining leg, creating another leg loop.
Connect this strap to the buckle on the back, making sure to listen out to the ‘click’ sound to ensure it’s secure. If the strap doesn’t reach the buckle, feel free to loosen it as much as necessary.
B. Step-in harness
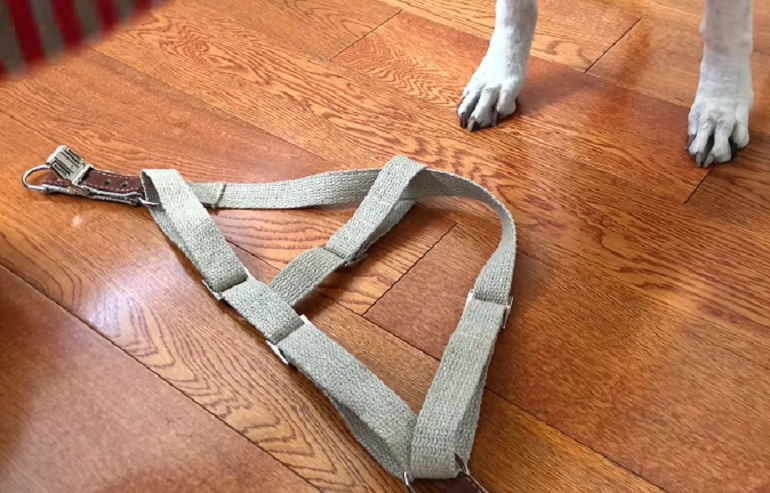
Besides stepping into a step-in dog harness, the main difference to an overhead harness is that while that forms rectangles around a dog’s legs, step-in harnesses form triangles.
I. Prepare the Harness
Lay the harness unbuckled on the ground, making sure you can clearly see the two triangles.
If the harness includes a vest or cover for the dog’s chest, make sure that the exterior faces the floor.
II. Step Into the Harness
Have your dog stand over the harness and place its two legs in each of the triangles, making sure to do just one leg at a time.
It’s worth checking to see if there’s a label telling you if a specific side is for a certain paw, however it often doesn’t matter too much.
III. Connect the Buckles
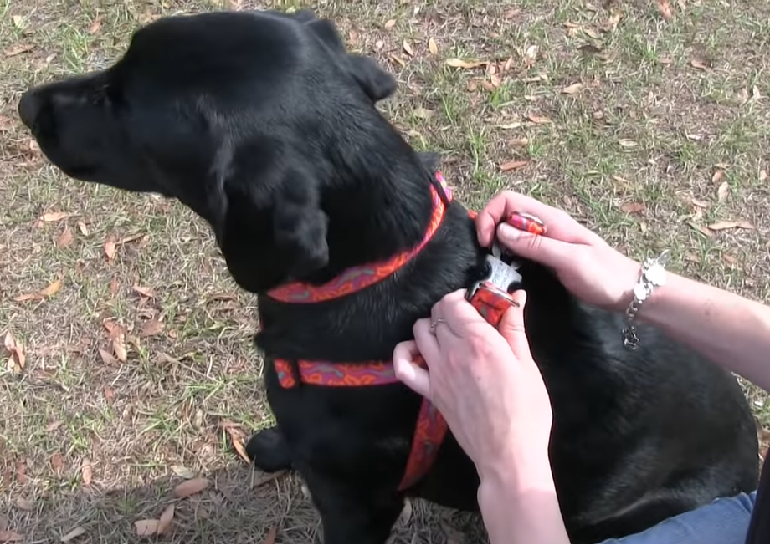
Pick up the two ends of the harness on either side of your dog and pull it up over your dog’s body, so the loops settle at the top of your dog’s legs and against their belly.
Bring the clips together and buckle them, making sure to hear the ‘click’ sound to ensure it’s secure, and check to see if there are other buckles that need connecting.
4. Adjust the Harness
Knowing how to put on a dog harness is only half the battle. Just like how you might adjust a dog collar, you’ll probably have to adjust the harness too – especially if it’s the first time putting it on.
Once the buckles are pulled together, adjust the harness straps to ensure it fits properly. Pull on the straps and slide the adjusters until it’s snug enough that it can’t slip over your dog’s head but loose enough, so it doesn’t chafe.
A good rule of thumb, particularly for an escape-proof dog harness, is to leave room for two fingers underneath the straps. This ensures both security and your dog’s comfort during walks.
5. Reward
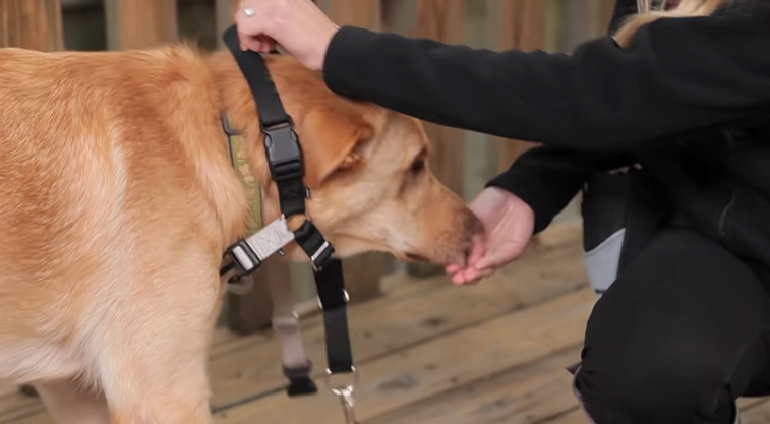
Rewarding your dog each time you put their harness on is important, especially when they’re young and still getting used to it. It helps teach them to enjoy having the harness on and to have positive associations with it.
Attaching a Leash with a Harness
You don’t necessarily need the best dog leash to get a secure attachment or good control with a running dog harness. Fortunately, it’s very simple to attach a leash to a harness.
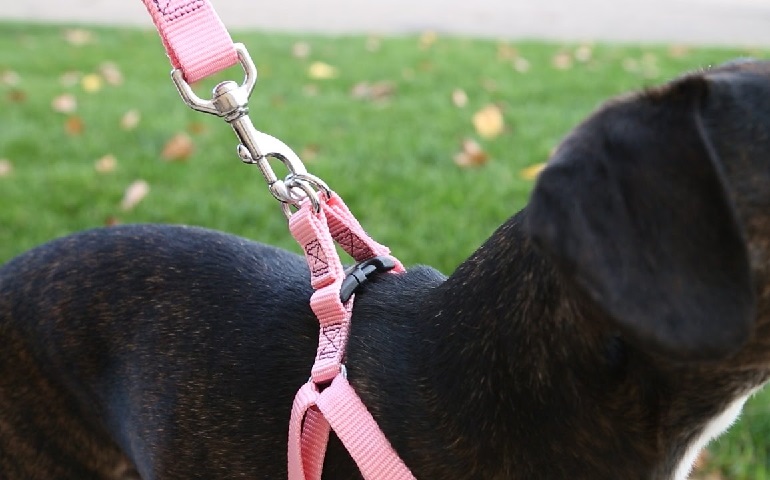
First, find the desired leash clip. Usually, the main leash attachment is found on the dog’s back. However, no-pull harnesses will have it on the front, while some will even have two clips on both the front and the back, allowing you to choose which to use.
To attach a leash, simply open the clasp and secure it over the D-ring. Give it a little tug to ensure that it’s secure and the attachment won’t snap as soon as the dog pulls.
Which Type of Harness is Best for your Dog?
There are numerous styles of harnesses, but the best one for you depends entirely on your dog. The obvious differences are overhead versus step-in harnesses, where step-in harnesses are preferable for dogs who don’t like things going over their head.
The less obvious differences in harnesses are where the leash attachment is. Although less obvious, this is arguably the most important decision when considering which harness to buy.
Front-Clip Harness
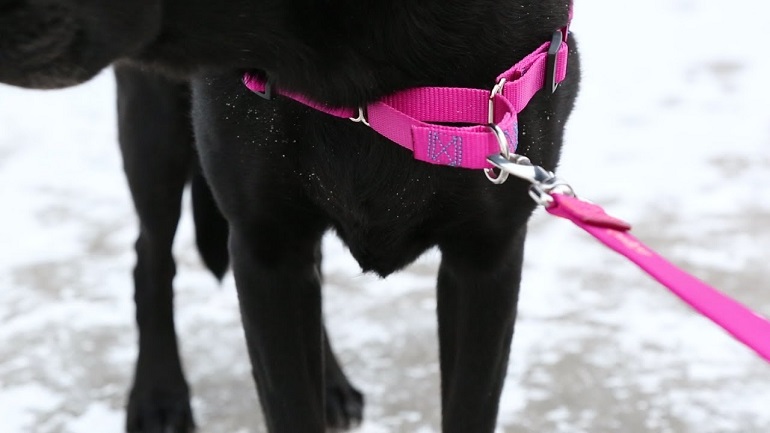
With a front-clip dog harness, the leash attaches to a clip in the center of the dog’s chest.
Front-clip harnesses give you more control over your dog if they pull. Whenever they strain on the leash, it redirects them back to you. Just be aware that the lead might end up getting tangled in your dog’s legs, so will need regular untangling.
If you’re interested in front-clip harnesses, it’s worth getting the no-pull dog harness you can to revolutionize your walks with your pup.
Back-Clip Harness
These are the most common type of harness you’ll see, with D-rings on your dog’s back between their shoulder blades.
These harnesses are better for dogs who already know how to walk on a lead and don’t pull. It’s more comfortable and doesn’t get caught up in your dog’s legs, but won’t do anything to discourage a young dog from pulling on the leash.
Dual-Clip Harness
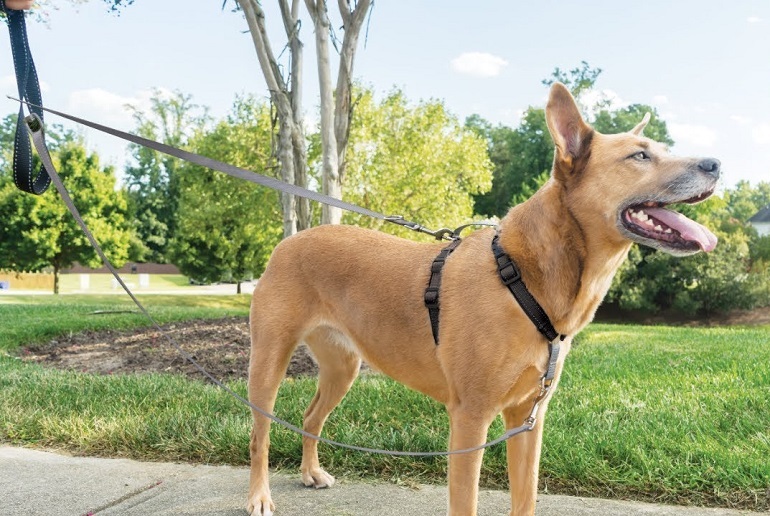
As opposed to the other two types, these harnesses have two clips – one on the front and one on the back, giving you a choice of where to clip the leash.
These are ideal because you can use the front clip while training your dog to walk on a lead and stop them pulling, before using the back clip as you transition to a more traditional style of walking when they’ve learned to behave.
Then again, if your dog is proving to be quite a handful, you can even attach a lead to both clips to give you extra control and allow you to almost ‘steer’ your dog.
Conclusion
While some are simple, some can be surprisingly fiddly. Don’t be embarrassed if you have to pause for a second to work out how to put on a harness – it’s best to go slow and be sure that your dog is safe and secure, rather than rush to put it on and put your dog at risk.
The good news is that no matter how fiddly the harness is, you’ll soon get the hang of it, and it’ll be easy to put on in just seconds. Once you know how to put on a dog harness, they all feel familiar.
It’s just important to make sure the harness fits well and adjust it to make sure that it’s secure, protects your dog, and gives them comfort so they can have their dream walk every day.
In conclusion, putting on a dog harness is a straightforward process that ensures your pet’s safety and comfort during walks. By choosing the right size and type for your dog, and familiarizing yourself with the harness structure, you can effortlessly secure it by following the steps of slipping it over the dog’s head, adjusting the straps, and fastening the buckles. Regular practice and positive reinforcement can help your dog become accustomed to the harness, making each outing an enjoyable experience for both you and your furry friend. With the right guidance and approach, a harness can greatly enhance your dog’s walking experience.

